Week 2: During the second induction we looked at the Film and Video preset on Photoshop to be able to set it up in the same way on After Effects, so that all the boundary limits are the same. We create 2 stars on Photoshop, one that was cropped, one that wasn't, and imported them into After Effects; then changed the background so that we could see the proper effects on it. We then looked at key framing again and used our knowledge from last week to move the images around and make them move across the screen.

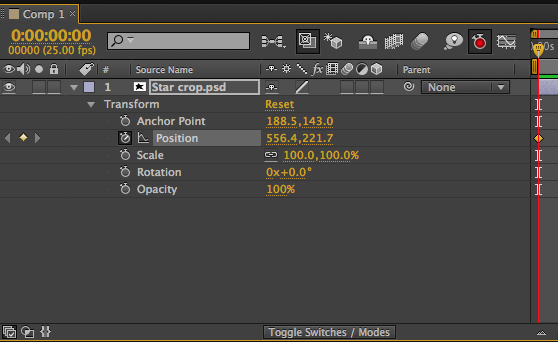

Week 3:Advanced Key framing
In this Session we learn about Interpolation. Interpolation is where between two key frames, After Effects
chooses how the motion works. Each key frame has anchor points, where we can change the
angle of he motion path with the bezier handles to create beveley curves.

We stared with four squares moving simply from left to right across the screen. At the moment the squares move from left to right at a
constant speed, but as this isn’t how things work in real life, they need acceleration
and deceleration. To do this, I clicked Animation in the top tab, and in the drop down menu
click Key frames interpolation. Above that in the drop down menu is the Toggle hold Key
frame. This changes the key frame in the timeline to more of a square diamond
shape. You can also do this by right clicking a Key frame. This allows you to
change various aspects of the Key frame such as opacity, position, scale and
rotation.


Yellow - Select a Keyframe, The Animation, Keyframe
assistant, Easy Ease In.
Green - Animation, Keyfrme Assistant, Easy ease out
Red – Animation, Keyframe Assisstant, Easy Ease
Turquoise - Left as
it is.
Now every square starts and ends at the same time, I’ve
just changed their temporary speeds for different motions.
Click the graph editor in the top left of the layers tab to
view the changes in speed in each layer. If you click on the button on the
bottom of the graph, you can change the way you view the graph. You can directly edit the graph by click on
the start and end points (or, a yellow line will appear, and you can use this
handle) to be however you desire.

Right click Key frames, press ‘rove over time’ this will
make the key frame a small yellow circle, and when you move all the key frames
they will stay equal distance apart. The Alt key is a shortcut for this and
allows you to move all the key frames without worry of resetting your
animation.
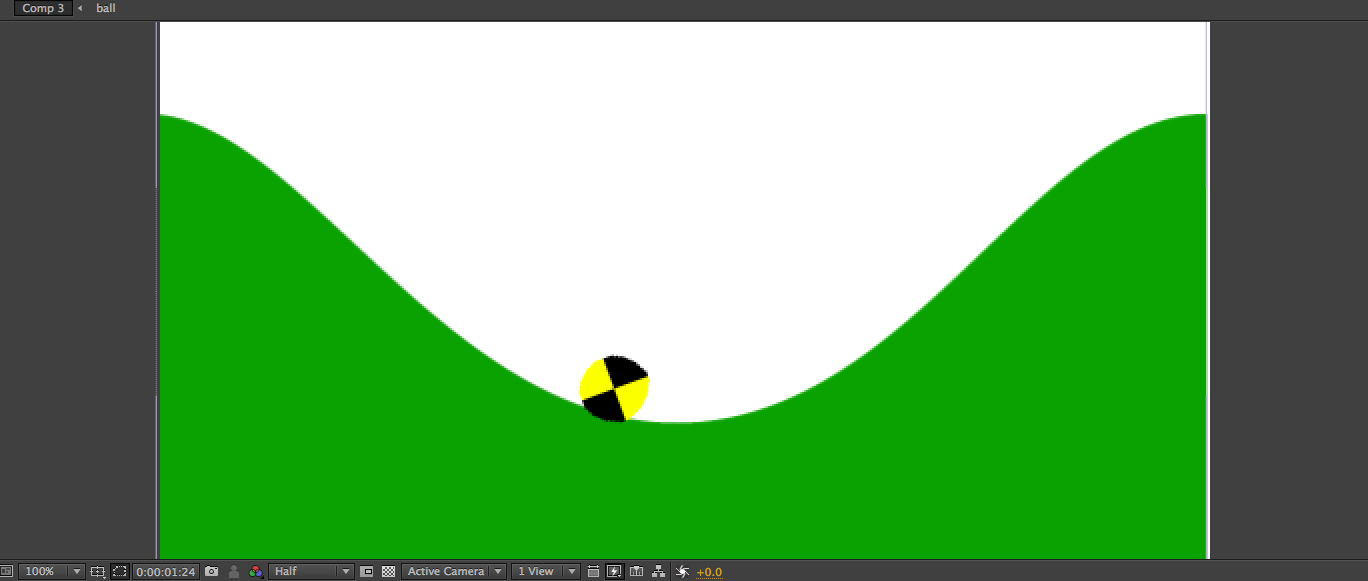
After learning this, I produced this short animation using
these skills, unfortunately, Blogger seems to have a problem uploading the file, so I have provided screenshots instead. The ball rolls down the hill, speeds up while doing so, slows down as it reaches the top of the other hill and then falls back down using realistic motion. The ball is also rotating as it does so to emphasize a sense of realistic motion.


Week 4:
To do this, press on the New Composition button, and then click Layer, New Solid. Make it same size as composition, to do this
click the ‘Make comp size’ button that pops up on the new solid window.
Masks allow transparency and opacity in a layer. Use a
Vector shape using either the pen tool, or the shape tool which will appear to
create a smaller shape out of the layer. However, this is more like a ‘Window’
where you can only see this part of the shape as the shape is acting as a
window in the mask. These shapes could also be made in Illustrator and then
imported in.

In the Mask drop down menu There is a ‘mask Feather’ option,
this will soften the edge of the shape. Mask Opacity option will lower or
heighten the opacity. Mask Expansion option can enlarge and decrease the size
of the selected object.


If you want to see your whole layer again, select the layer, double click on the rectangle tool to reveal
the whole layer.
To create a short animation using these skills, Enable Keyframing for the Mask Path after two seconds. At the very beginning add a key frame with the Mask of screen, over two seconds it will appear in a very short, simple animation of Masks.
To create a short animation using these skills, Enable Keyframing for the Mask Path after two seconds. At the very beginning add a key frame with the Mask of screen, over two seconds it will appear in a very short, simple animation of Masks.


We Then opened our animation from last week. and added a red 200 x 200 square. We then double clicked the ellipse tool and revealed it as a circle. We then drew a right-angled triangle within the circle, and curved an edge with the pen tool, and then changed it from 'Add' to 'Subtract.' We then made two blue squares and placed them at the bottom of the circle to create a car looking simple shape. Square instead of circle wheels will make it clearer to see the rotation.


We then stated on another car, rotating and keyframing the wheels, chimney and the smoke. For the smoke we had to change its opacity, scale, and position, but all using the same technique. to create this smoke effect multiple time, we can duplicate the keyframes, or we can use Expressions.


We then saved that project, and opened up our old project with the hills and ball, and imported this file by pressing Import-File and selected it. This could be drag and dropped onto our old composition and be handled as one layer. Or, what we did was click on the ball layer, hold ALT and drag the new composition, not folder, just composition, into the ball. This allowed it to move over the hills like the ball. We then pressed Layer - Transform - Auto Orient and then highlighted the 'Orient over path' option. After doing this, the car moved along the hills much more realistically, with the wheels attached to the hills.

After this I simply changed small things such as the wheel speed in the car composition, and as it had been imported it didn't even need saving, it automatically saved.

No comments:
Post a Comment